How to Install a 158MM Rear Disc Brake Rotor on Moped, ATV, Quad & Go-Kart (125CC 110CC) – Step-by-Step Guide
Introduction:
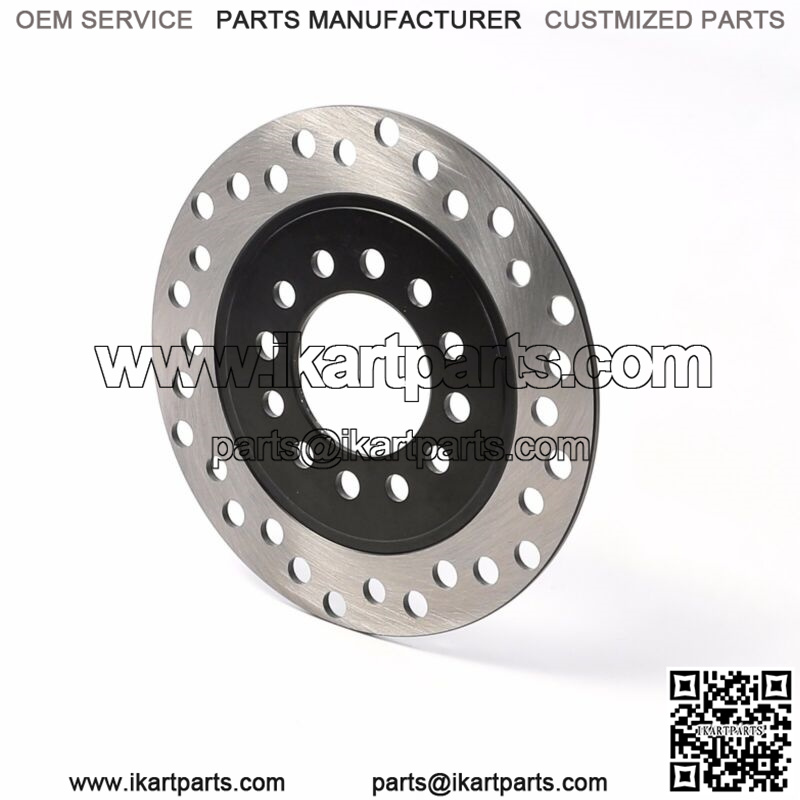
A 158MM rear disc brake rotor is essential for safe and efficient braking on mopeds, ATVs, quads, and go-karts (125CC/110CC). Proper installation ensures optimal performance and longevity. As a trusted manufacturer with 20+ years of experience, we provide a detailed installation guide.
Step-by-Step Installation:
-
Gather Tools & Safety Gear
-
Wrench set, torque wrench, brake cleaner, gloves, and safety glasses.
-
-
Remove the Wheel
-
Lift the vehicle and secure it. Remove the wheel to access the old rotor.
-
-
Uninstall the Old Rotor
-
Loosen the mounting bolts and carefully remove the worn rotor.
-
-
Clean the Hub Surface
-
Use brake cleaner to remove dirt, grease, and rust for a secure fit.
-
-
Install the New 158MM Rotor
-
Align the rotor with the hub and tighten bolts to the manufacturer’s torque specs.
-
-
Reassemble & Test
-
Reinstall the wheel, pump the brakes, and test for proper function.
-
Pro Tips:
-
Avoid touching the rotor surface with bare hands to prevent oil contamination.
-
Check brake pad alignment to prevent uneven wear.
Why Choose Our Rotors?
-
Precision-engineered for smooth, reliable braking.
-
Durable stainless steel construction resists warping and corrosion.
-
Direct manufacturer pricing with bulk discounts.
Where to Buy?
-
Google Search: 158MM Rear Disc Brake Rotor for Moped ATV
-
Amazon: Buy on Amazon
-
eBay: Shop on eBay